How to Build a Dog First Aid Kit: Essentials for Preparing Your Pet for Disaster
As a pet owner, it’s essential to be prepared for emergencies. From simple wounds to natural disasters, being ready before something hits will save you and your pup a world of trouble.
Dog first aid kits are the best way to be ready. Our furry friends are curious creatures and sometimes get into situations they shouldn’t be in. Even at home, our goofballs can put themselves in harmful positions.
Our list below includes everything you’ll need in your dog’s first aid kit, whether you’re playing in the backyard or going on a weekend hike. You know your dog best, so have fun customizing the emergency pouch for your pooch.
Then, to ensure you’re ready when a natural disaster strikes, explore our best practices list for tornadoes, earthquakes, fires and similar phenomena. Staying calm is essential to keep yourself out of danger and soothe your dog as well.
How to Build a Dog First Aid Kit
When gathering medical supplies for your dog’s medical kit, it’s best to use multi-functioning materials. Non-stick medical tape, for example, can be used to make a splint or a bandage. Really, the assembly process is simple because a dog’s medical kit isn’t too different from the human kind.
That being said, keep your first aid kit separate from your dog’s so there are no sanitation concerns.
-
Gauze

The essential item to any first aid kit — canine or otherwise — is gauze. This versatile piece of medical equipment is made from warped and woven cotton, making it extremely absorbent.
Use gauze to dress a dog’s wound. The material will soak up discharge and help avoid infection.
If necessary you can use gauze as a stand-alone bandage, but when possible it should always be paired with another layer on top of it. This secures the gauze and further prevents infection.
-
Antiseptic
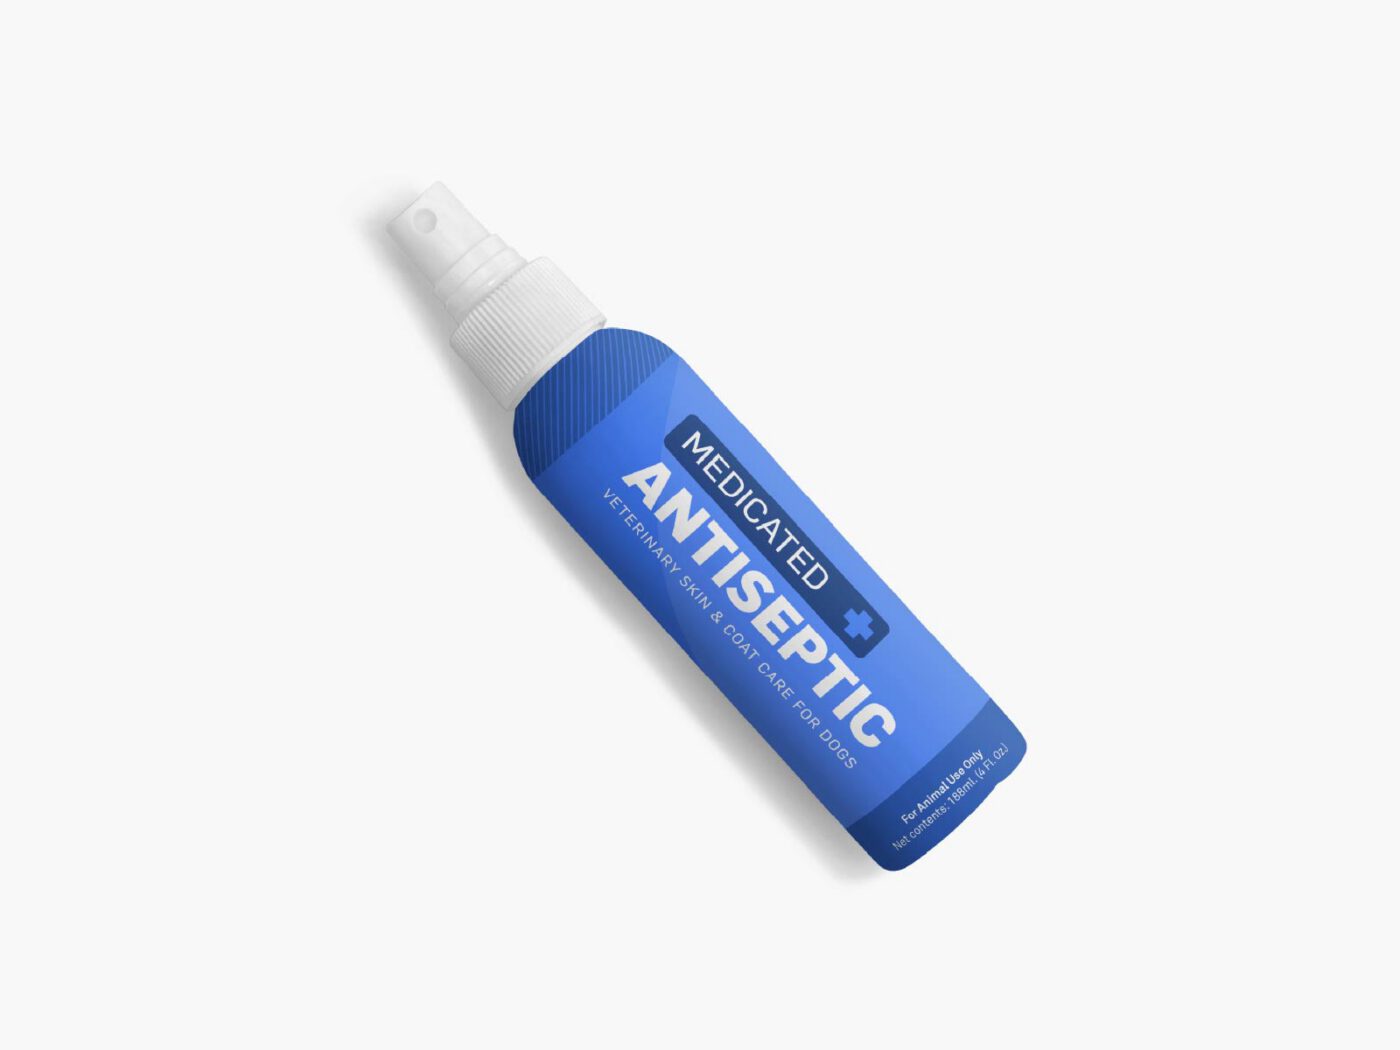
When dressing a fresh wound, antiseptic is crucial. These formulas wash away harmful bacteria that inevitably lead to infection if not eliminated.
For your pup’s emergency kit, you’ll need to get dog-specific antiseptic spray or cream. Usually derived from chlorhexidine, these antiseptic solutions don’t sting and help treat skin decay in dogs. In a pinch, pure chlorhexidine works as an antiseptic as well and can be found in most drugstores.
-
Non-stick bandages

As with humans, bandages are an essential part of any emergency pack. With dogs specifically, you’ll want to use non-stick bandages — this ensures they won’t pull out your dog’s hair upon removal.
It’s best to pair these bandages with gauze and antiseptic. The use of all three prevents infection and further wound openings.
First, apply antiseptic, then gauze, and finally the bandage.
-
Milk of Magnesia
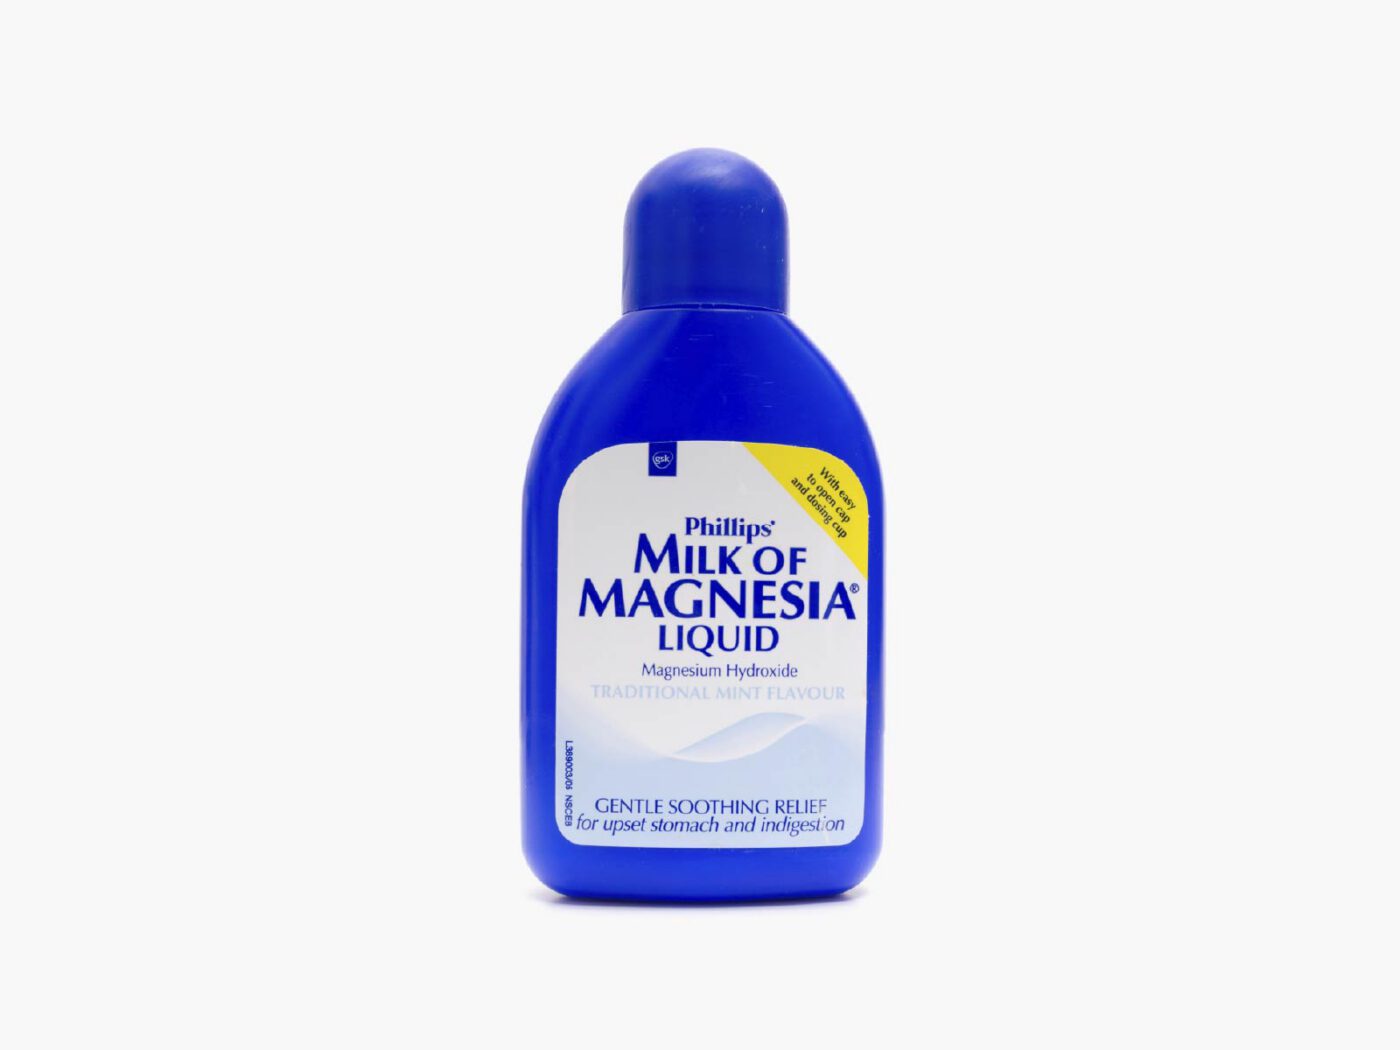
Milk of magnesia is a great addition to a dog’s medical kit because it helps relieve gastric stress. This liquid can be used to relieve constipation pain and treat acid reflux. These ailments can be brought on by stress or poor diet — both common in disaster scenarios.
If your dog is having a hard time going to the bathroom give them some milk of magnesia orally.
NOTE: It’s extremely important to speak with your vet before purchasing this medication so that you know the proper amount for your specific pup.
-
Foldable Water Dish
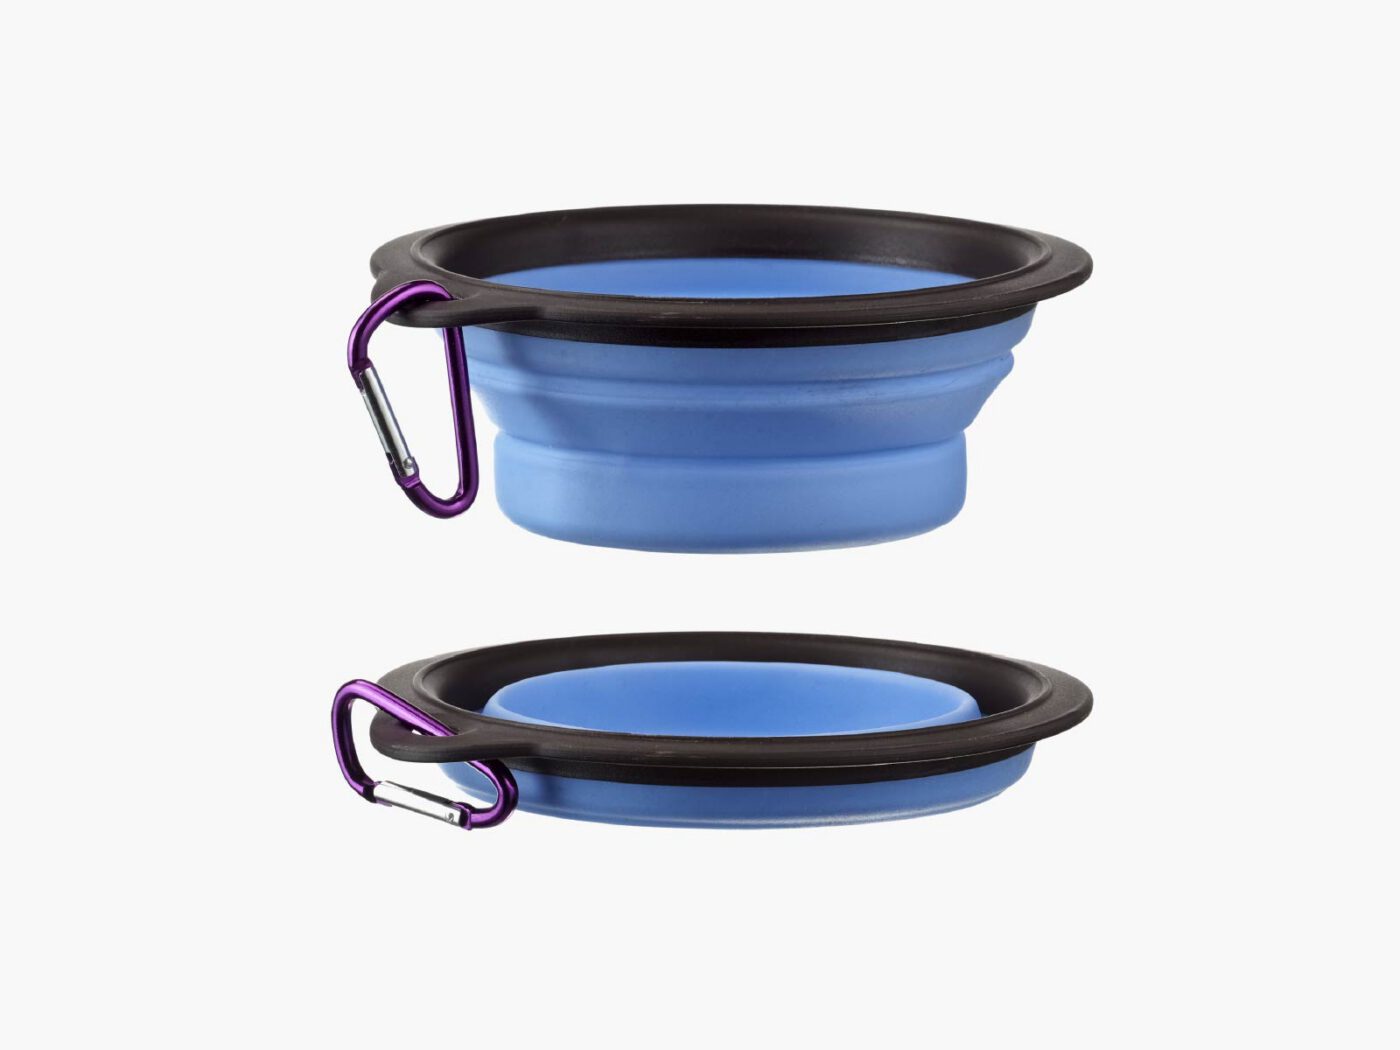
Water saves lives. There are innumerable reasons you may need to get your dog water, and that can be extremely hard without a bowl. Pack a foldable water dish in your kit to make sure your dog always has a vessel to drink from.
If possible, wash the bowl after each use. Let it dry thoroughly so mold and other bacteria won’t grow in storage.
-
Scissors

Whether you need to cut gauze, hair or really anything else preventing you from caring for your pup, scissors are a great addition to your first-aid kit. They’re extremely versatile and can be used in casual situations as well as extreme ones.
Always remember to pack scissors with a guard on them, and store them away from items that can be punctured. Wrapping them in tape-secured cardboard is a great DIY option.
-
Cotton Balls

Cotton balls can be used to dab ointment onto wounds, as well as clean them. In addition, you can use cotton balls as a replacement to gauze when dressing a wound.
To conserve your supply of cotton balls, always use the proper amount of cotton needed for a job. You can break them apart to ensure you have them when needed the most.
-
Tweezers
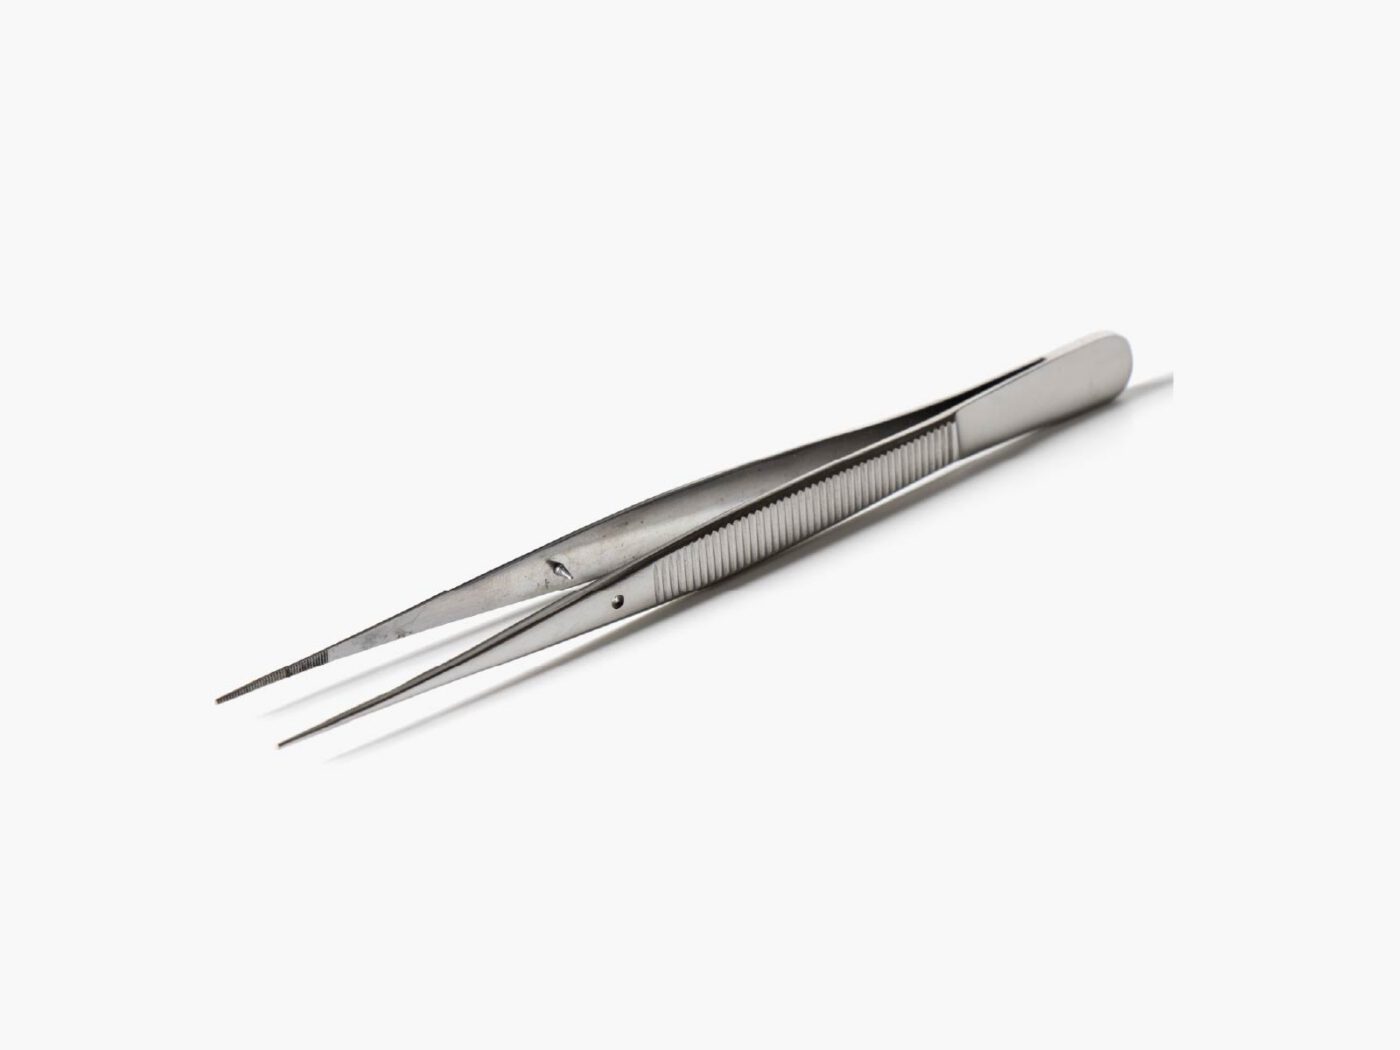
Another incredibly versatile tool, tweezers, are a must for any doggy first aid kit. Canines are naturally curious creatures and will stick their nose in places they shouldn’t. They can prick themselves with needles, thorns, quills and everything else that has a point.
If debris or foreign objects like shards of metal are lodged in your pet, use tweezers to remove them before they cause infection. If objects are lodged too deep into your pet to remove, cover them loosely with gauze and go to the vet immediately.
-
Magnifying Glass
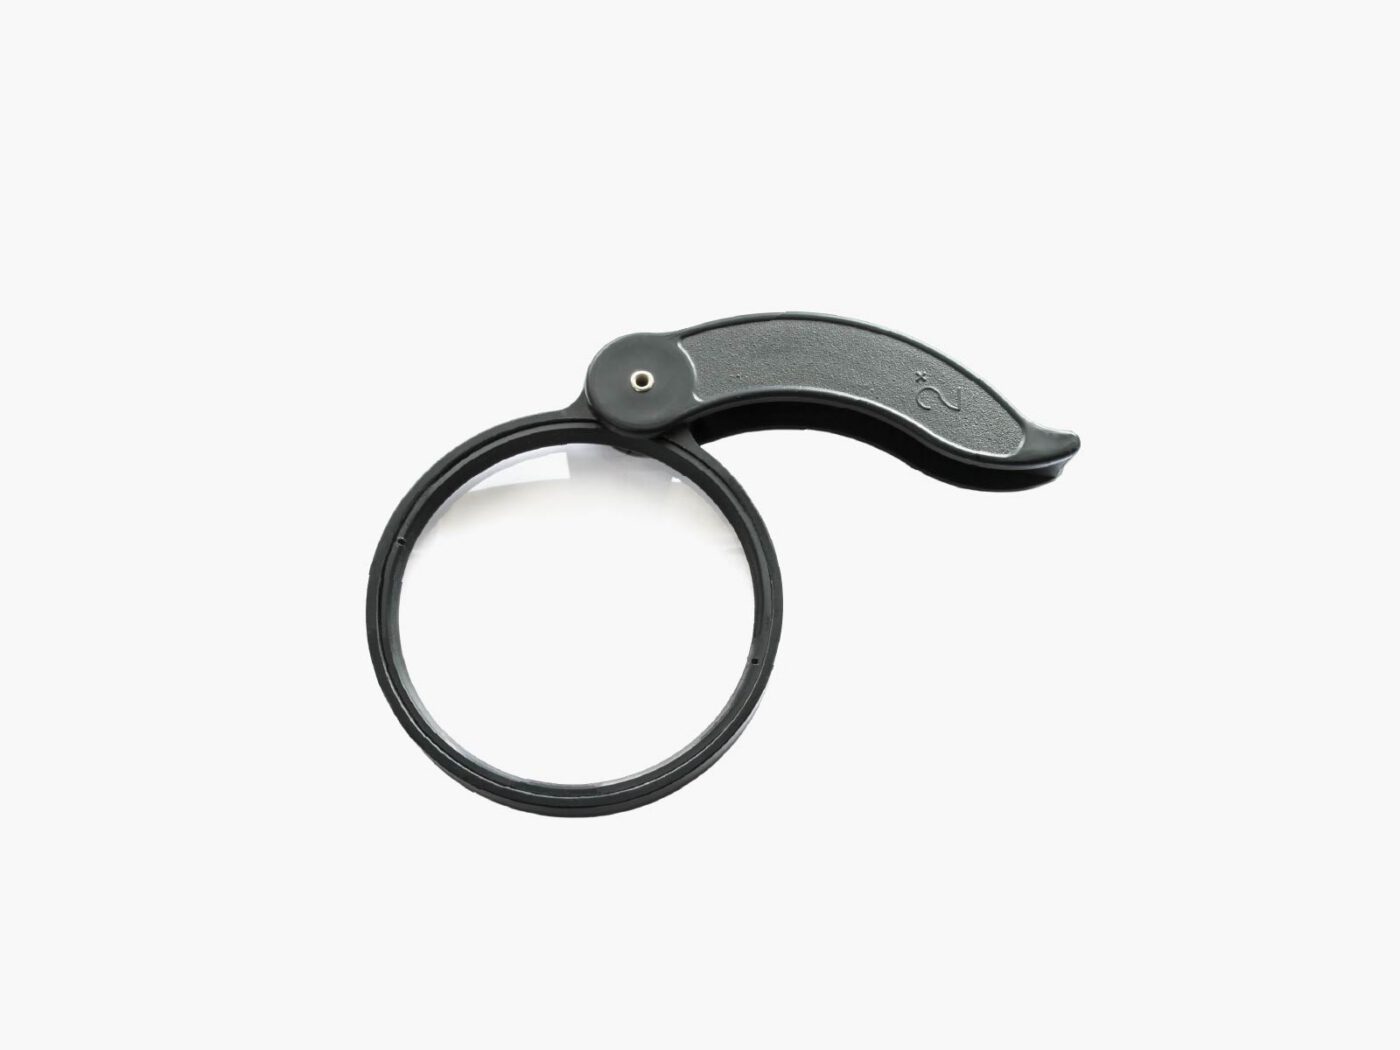
For added safety, pack a magnifying glass in your dog’s kit. In some instances wounds or slivers may be hard to see with the naked eye.
Magnifying glasses are also essential when taking your dog into wooded environments with ticks. After hikes or walks in areas known to have ticks, take a magnifying glass and inspect your pup’s coat for small, round bugs. These are ticks and need to be removed.
-
Soft Muzzle
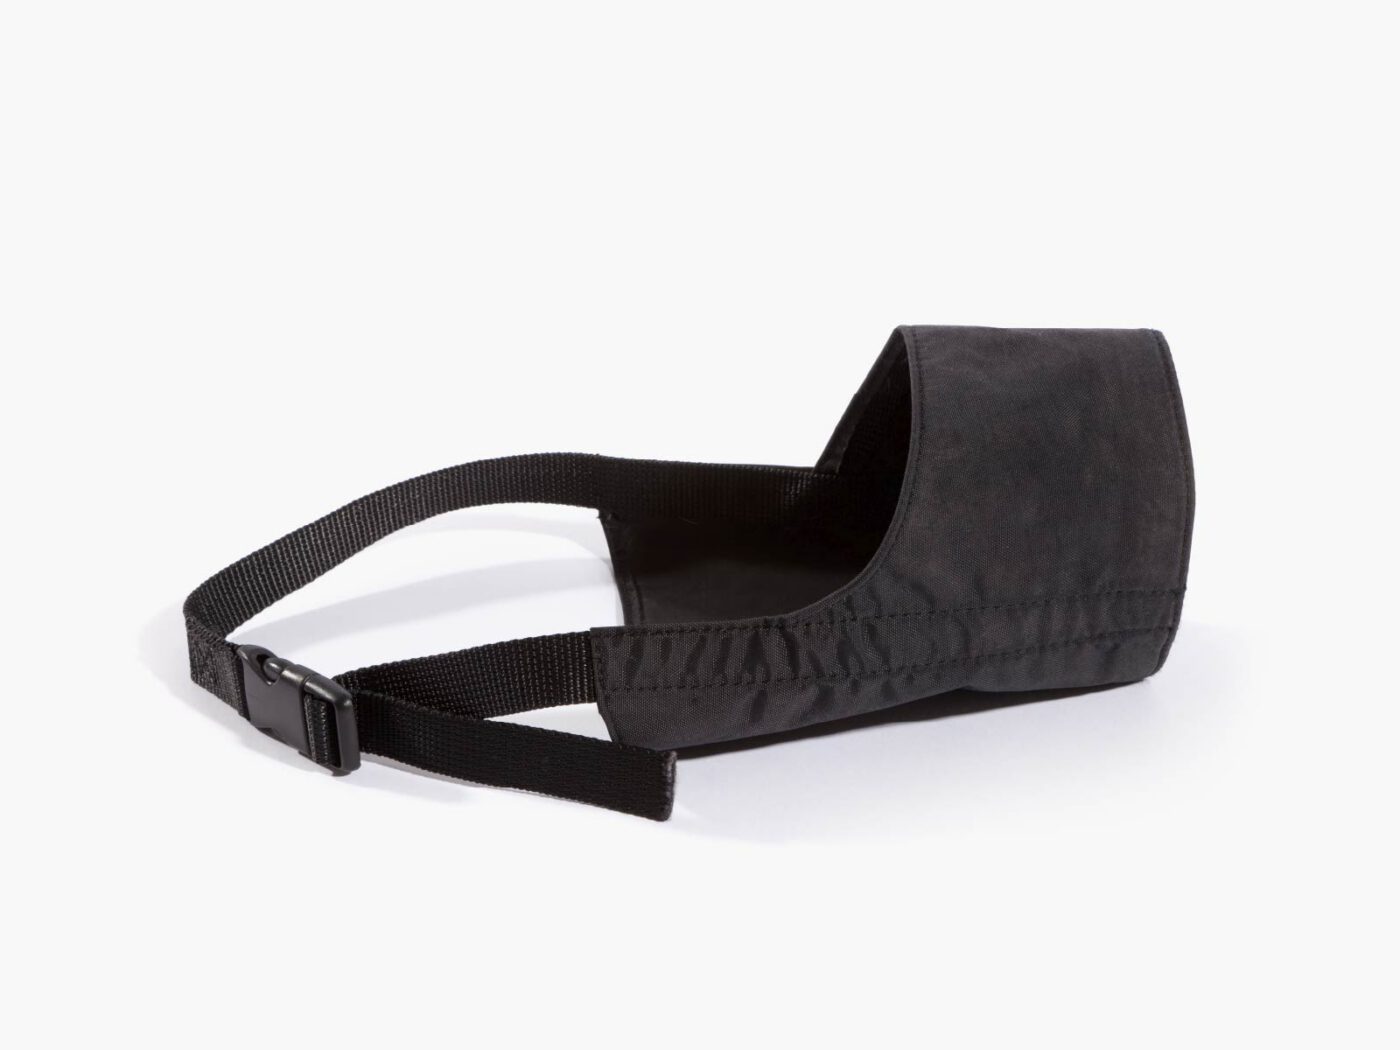
Pain and stress can cause a dog to act out of character. No matter how well-behaved they are, in extreme circumstances, there’s a possibility your dog will attempt to bite whoever is treating them. Remember, you may not be the one with the skills to treat your dog on the spot.
A soft muzzle will protect other humans and your pup in this situation. These muzzles can even calm your dog.
-
Microfiber Towel

A microfiber towel is a versatile addition to any first aid kit. These towels not only dry a pup quickly; they also dry quickly themselves and can be used for warmth.
In extreme situations, use a microfiber towel if your dog goes into shock. Wrapping them in a towel can calm them and keep them warm while you transport them for immediate vet attention.
-
Syringes
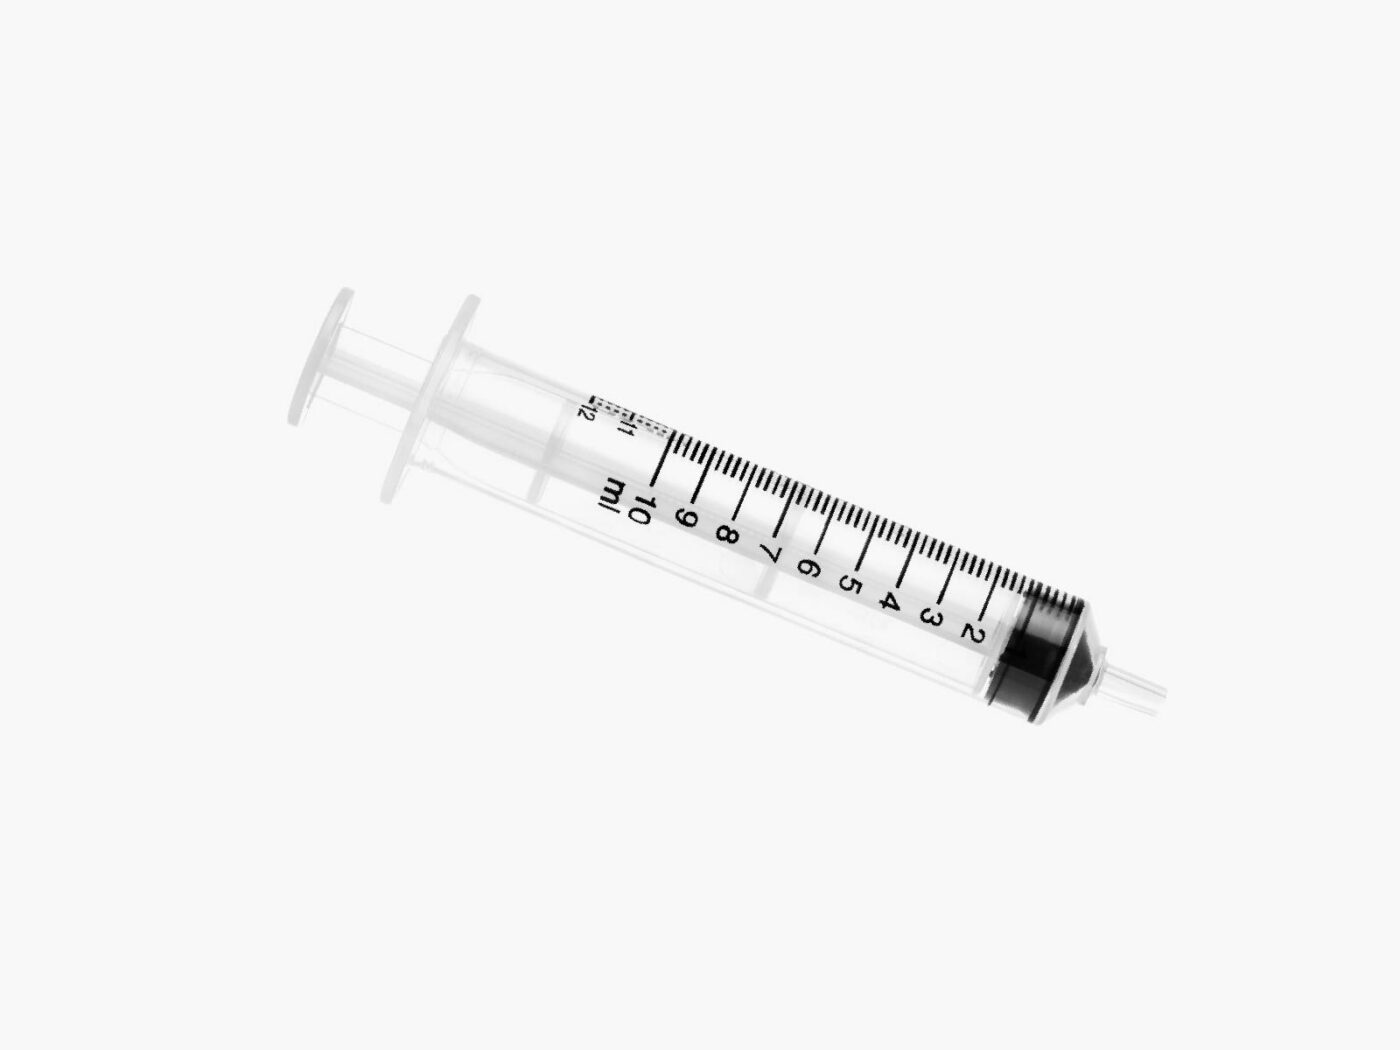
You won’t need syringes to administer vaccines to your pup. Instead, they come in handy when washing out their wounds and feeding them oral medications. Syringes are readily available at most drug stores, and they should only be used once to ensure sanitary conditions.
-
Bandage Tape
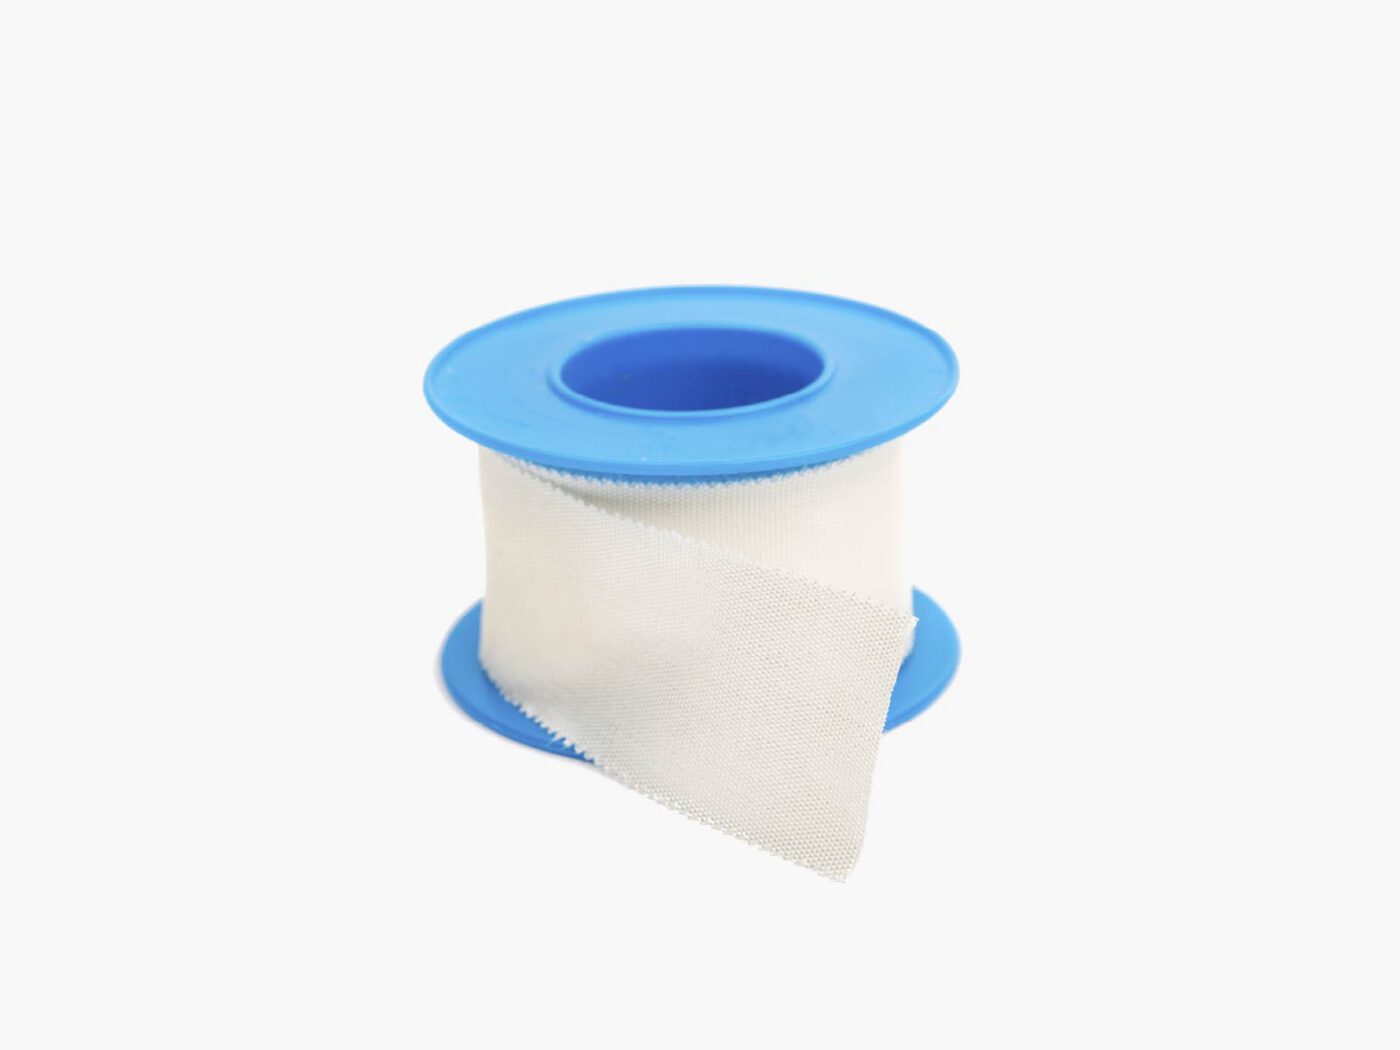
Unless your non-stick bandages stick to themselves (like velcro), you’ll need tape to fasten a dressed wound. Bandage tape is specifically made to hold non-stick bandages together. The tape is also easy to tear off a roll.
-
Charcoal
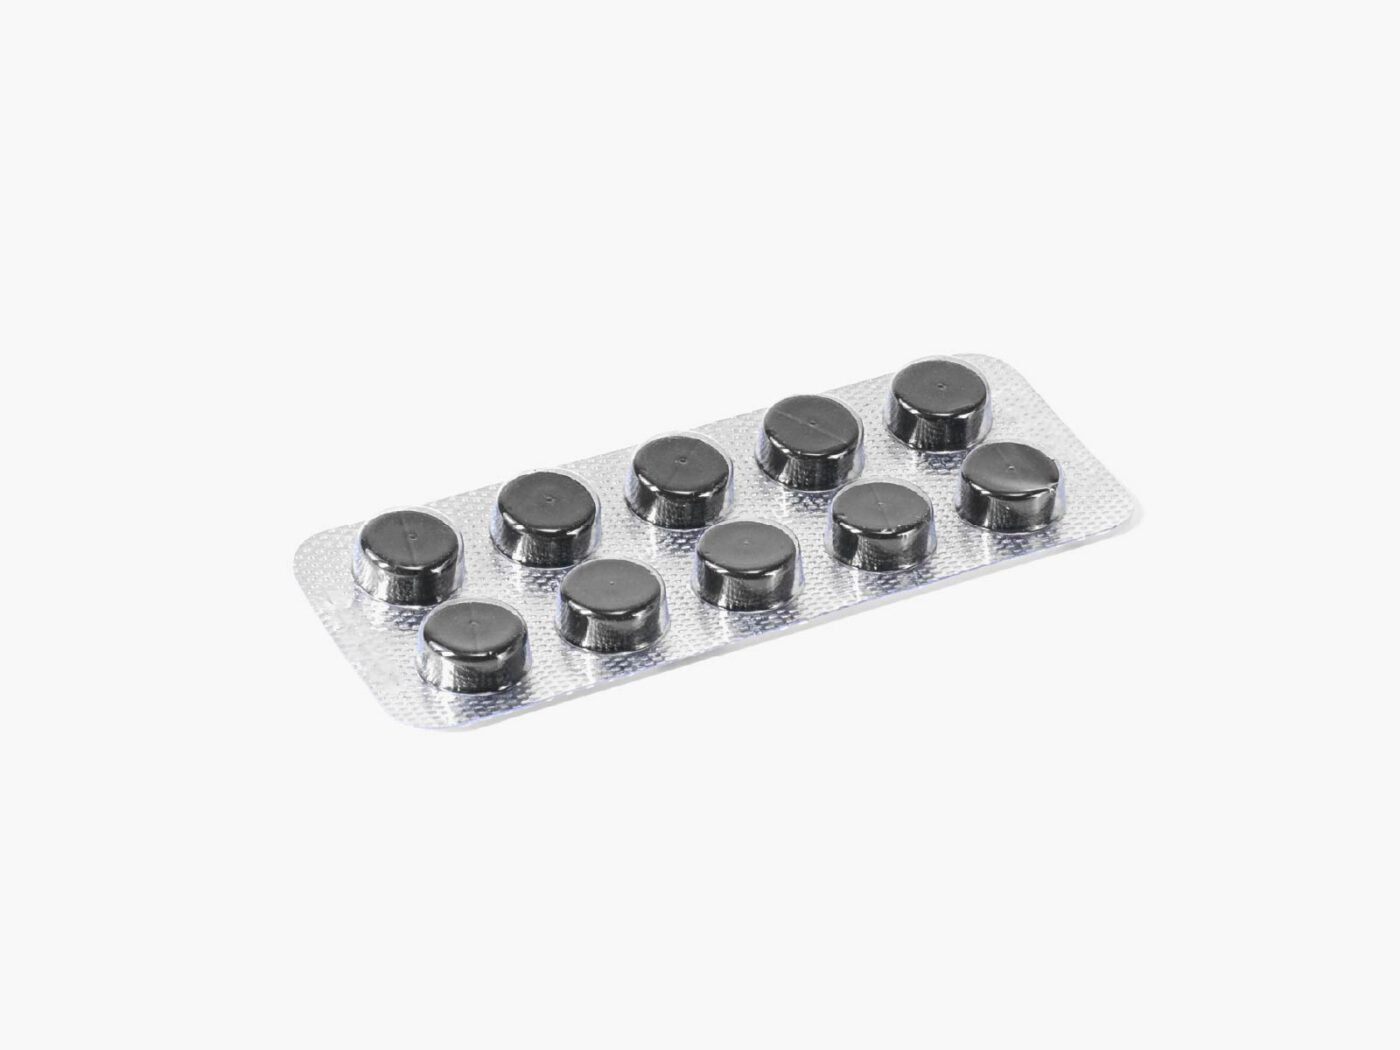
Essential when alone with pets, medical charcoal reduces the effects of poison if medication isn’t readily available. It can be administered to wounds or locations exposed to poison to absorb toxins. Always ask your vet before using charcoal so that you know what’s appropriate for your dog.
Never apply charcoal to a pet that’s vomiting, having a seizure or exhibiting signs of anxiety. That could leave your dog with serum in their lungs.
-
Canine First Aid Manual

Unless you’re a vet, chances are you won’t know how to treat every ailment thrown at your pup. Luckily, there are pocket guides to help. These small manuals can fit in a first aid pack and can quite literally be lifesavers.
A good manual will have a symptoms section, as well as treatment procedures. These booklets should be stored in easy-access areas of your pack.
-
Digital Thermometer
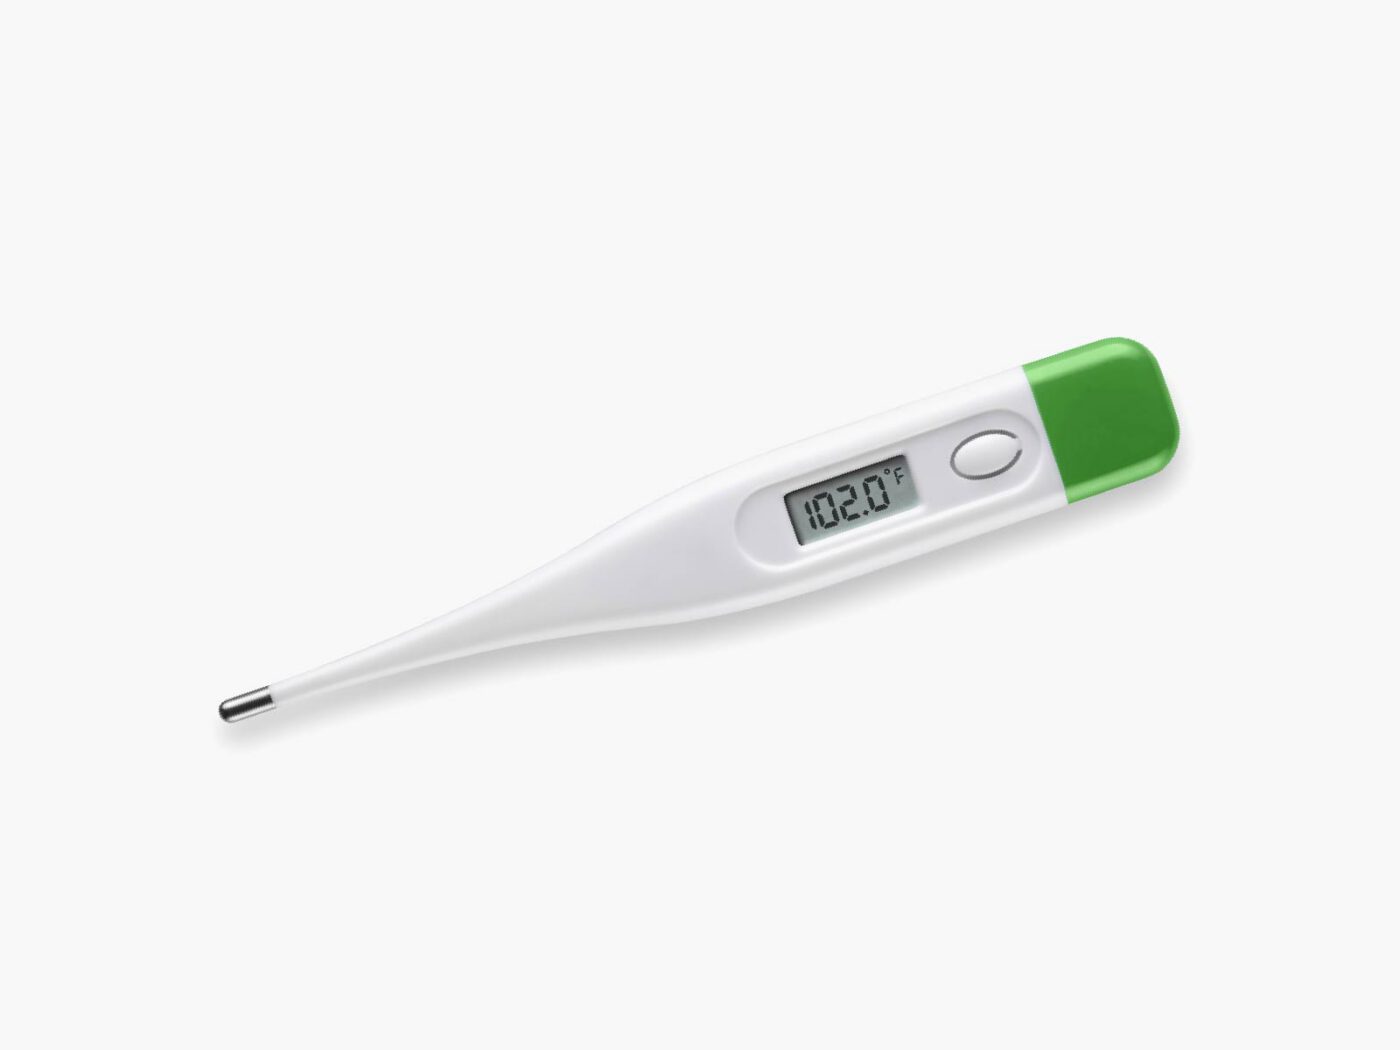
Digital thermometers are great to pack for an initial diagnosis. If you’re in a situation where mobility is limited and your pup’s acting odd, use a thermometer to check the dog’s temperature. That can indicate whether they have a fever and medical attention is needed.
-
Hydrogen Peroxide
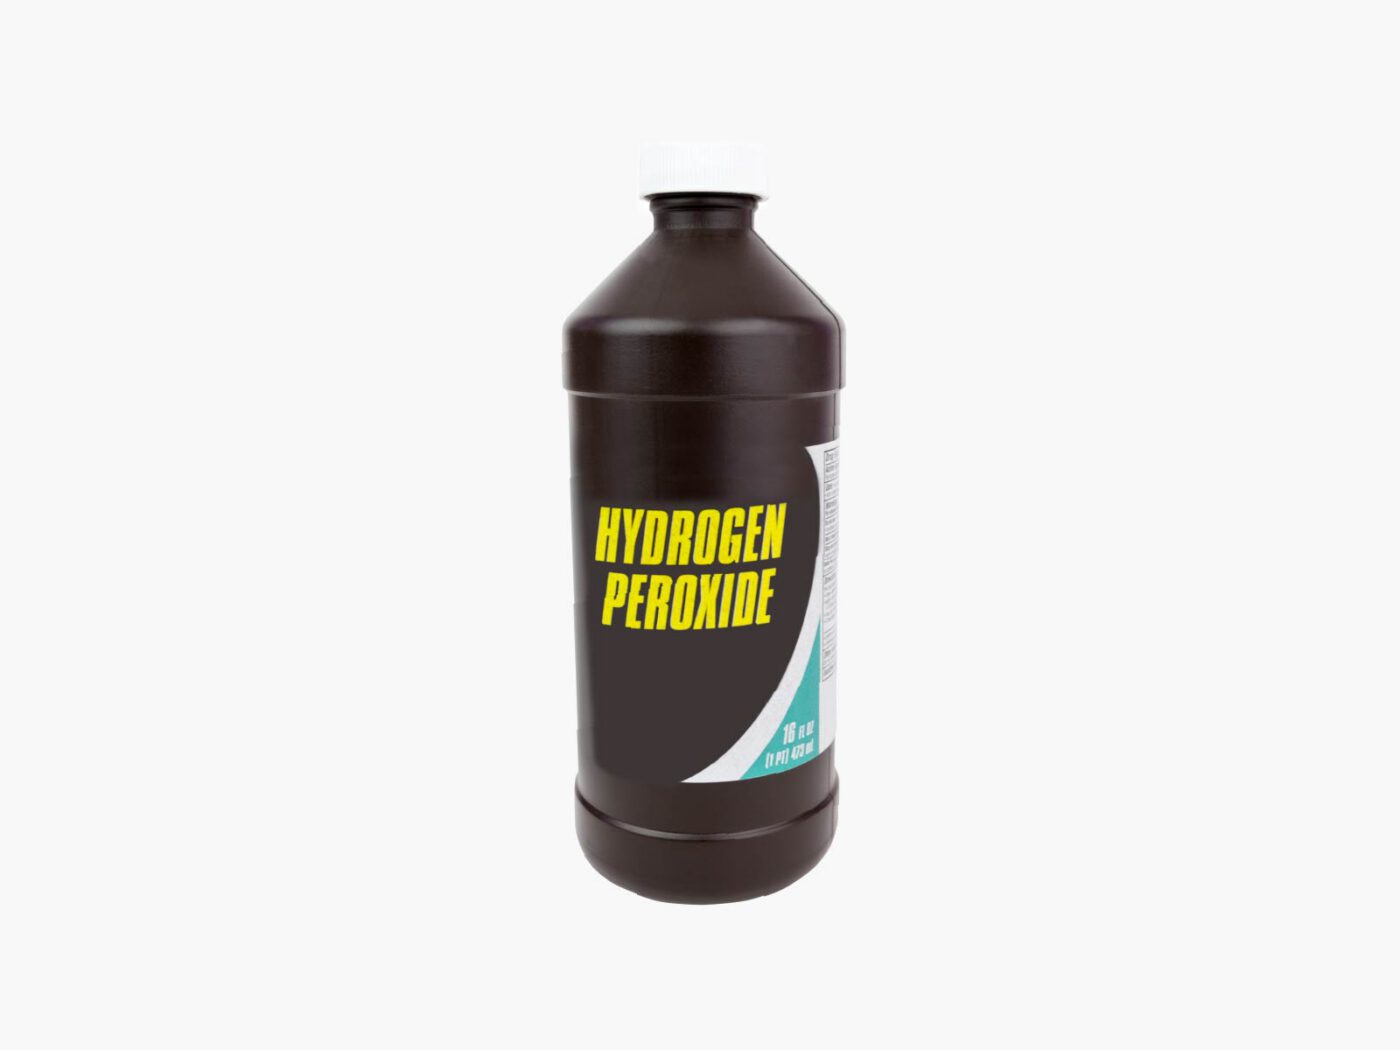
Hydrogen Peroxide is another type of antiseptic. While it’s stronger than other pet-specific cleansing agents, it stings and will cause your pup to yelp and struggle.
To be prepared, always use a leash when disinfecting with hydrogen peroxide.
-
Extra Leash
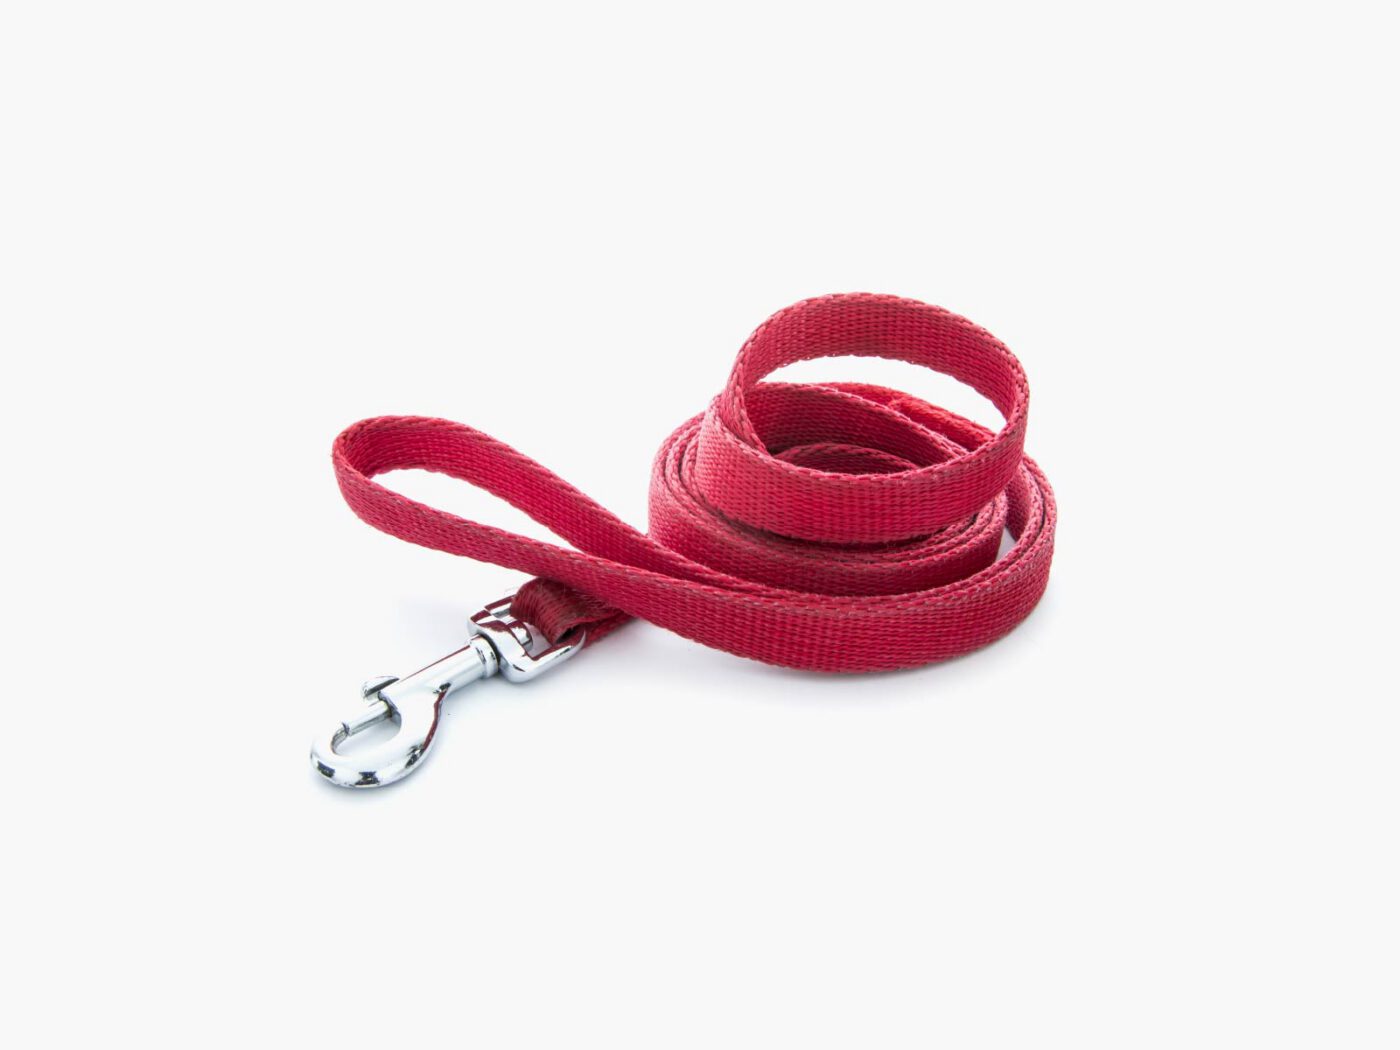
Having an extra leash is crucial for a first aid kit. When treating your dog for an injury or sickness, they can get restless and try to run. If you’ve lost your leash or it’s broken, it can be extremely hard to treat your pet.
To conserve space, pack a lightweight leash. You can fold these leashes easily and compact them into a small space.
-
Disposable Gloves
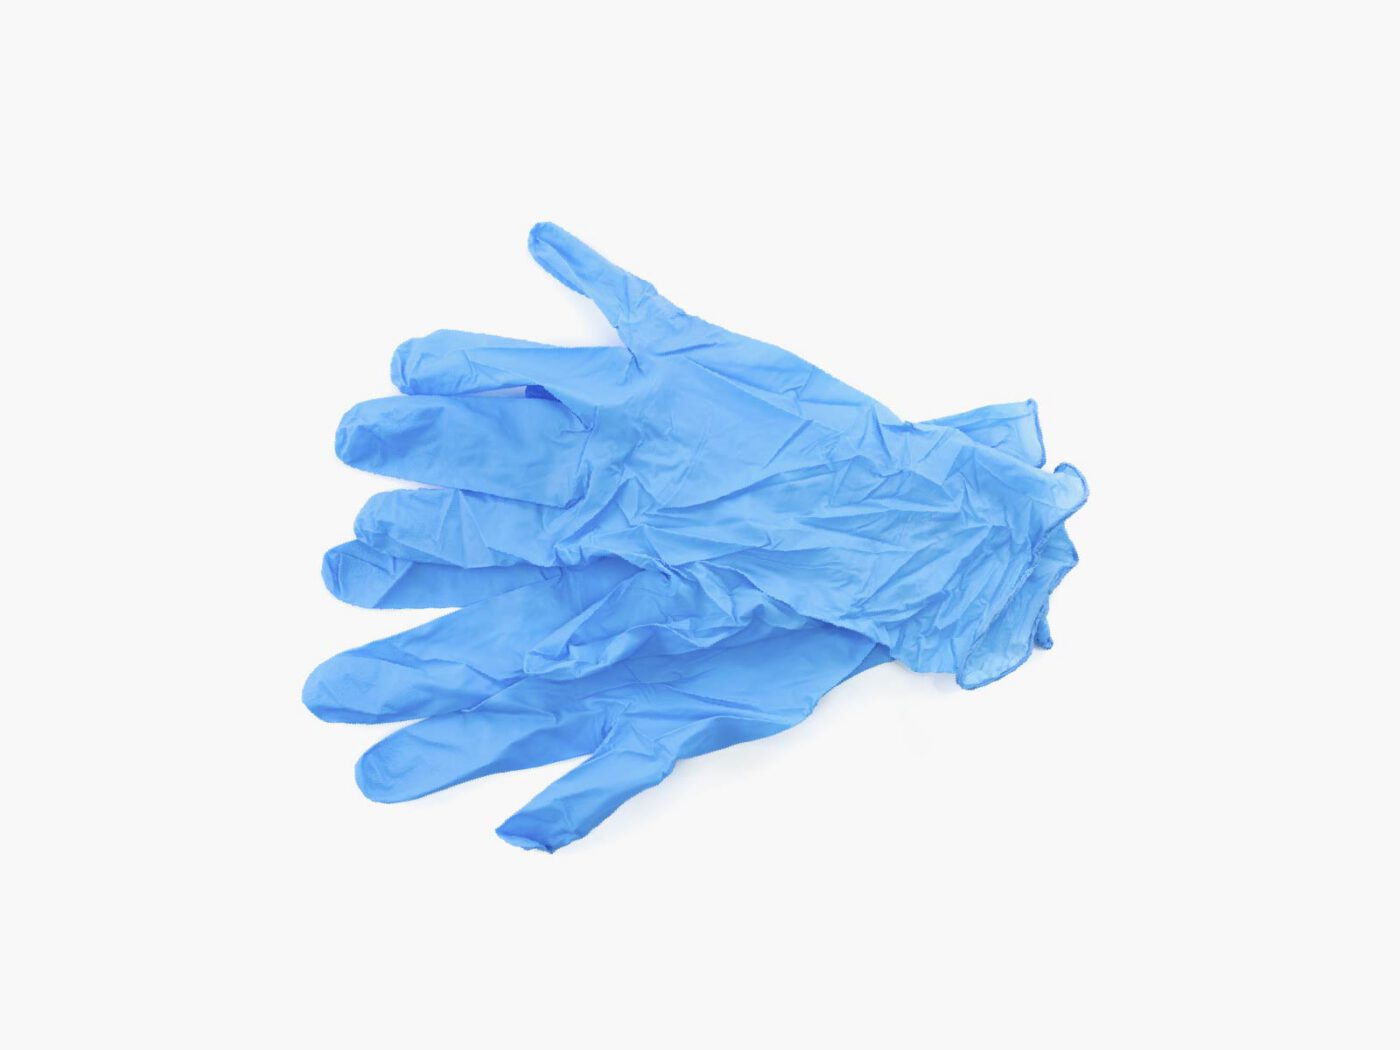
For your sanitary safety — and your pup’s — always use medical gloves. They protect you from discharge and other liquids and also protect your dog from infection. These gloves should be worn only once and never used on two different animals.
If you touch the ground or another unsterile environment when treating a dog’s injury, it’s advised to put on a new pair of gloves.
How to Plan for a Disaster with Your Pet
Dogs are like kids when a natural disaster hits, you’ll need to stay collected to keep them calm as well. That starts with being prepared.
Below is everything you’ll need to take care of your dogs during natural disasters. It’s better to make sure you have everything laid out and assembled in neat order, so take your time collecting these materials.
Gather Medical Records
You never know when a medical situation will arise, so having these papers on hand will save you a lot of headaches in the moment.
The best way to have all of this in one place digitally is to microchip your dog. This puts them in a national database and makes them much easier to find should they get lost.
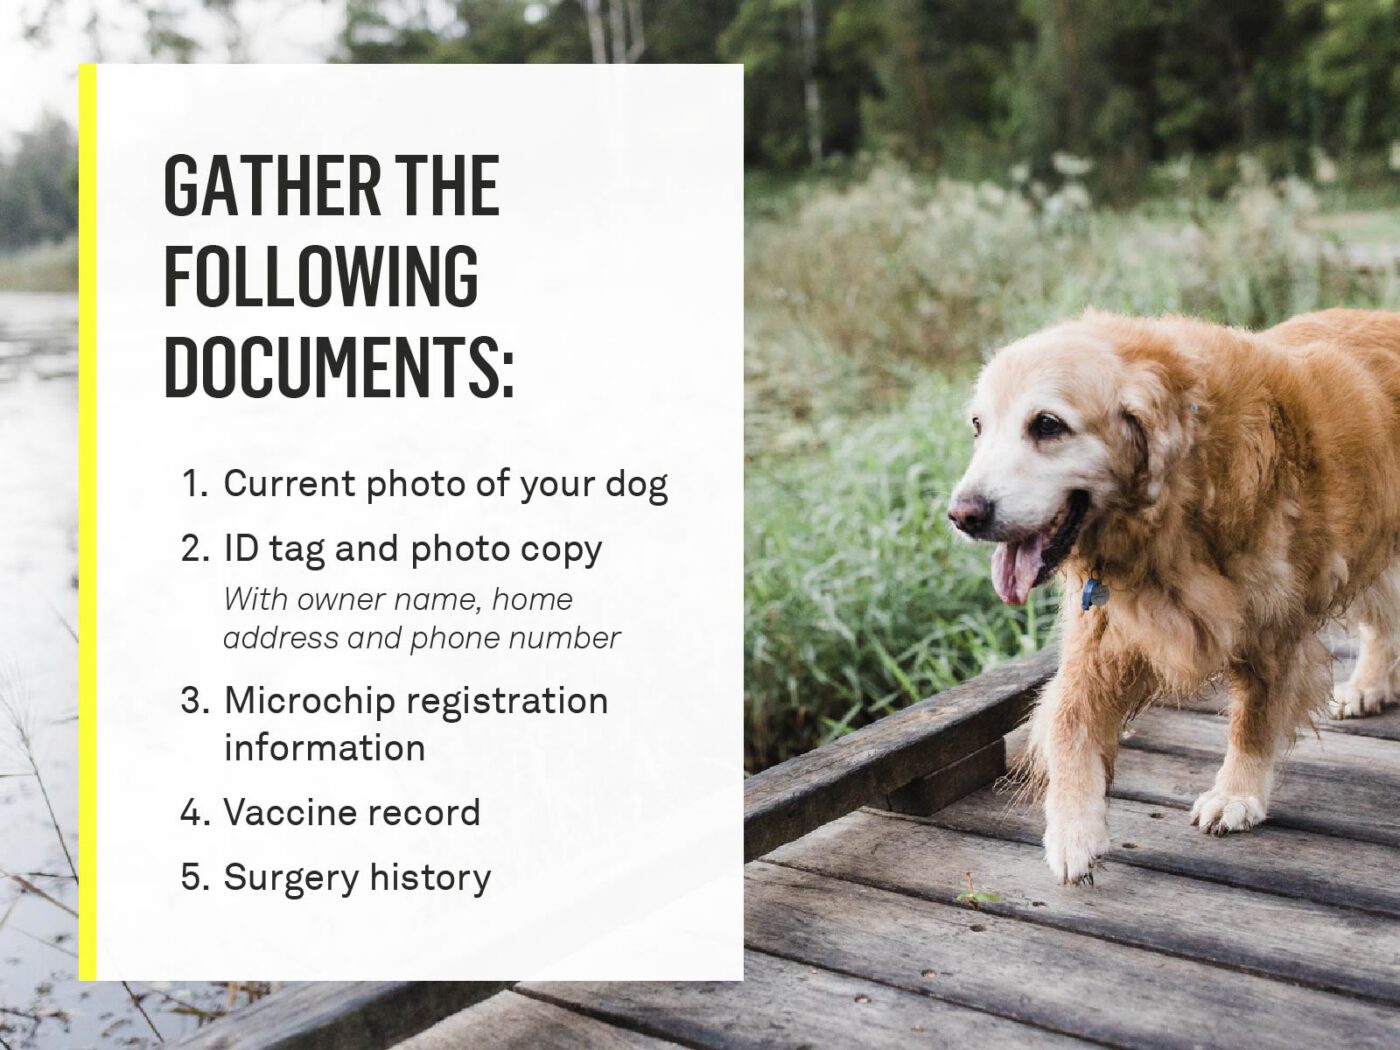
You’ll want to have the following physical documents handy to make sure your pup gets help fast:
- Current photo of your dog
- ID Tag and photo copy — including your name, home address and phone number
- Microchip registration information
- Vaccine records
- Surgery history
Dog stem cell banking is also becoming a popular option to prepare for unforeseen health problems.
Create a Pet “Go” Bag
Similar to your dog’s first aid kit, a “go” bag can be lifesaving during natural disasters. The materials you pack should strike a balance between utility and weight. The ideal “go” bag will keep your dog alive for 72 hours without containing superfluous supplies.
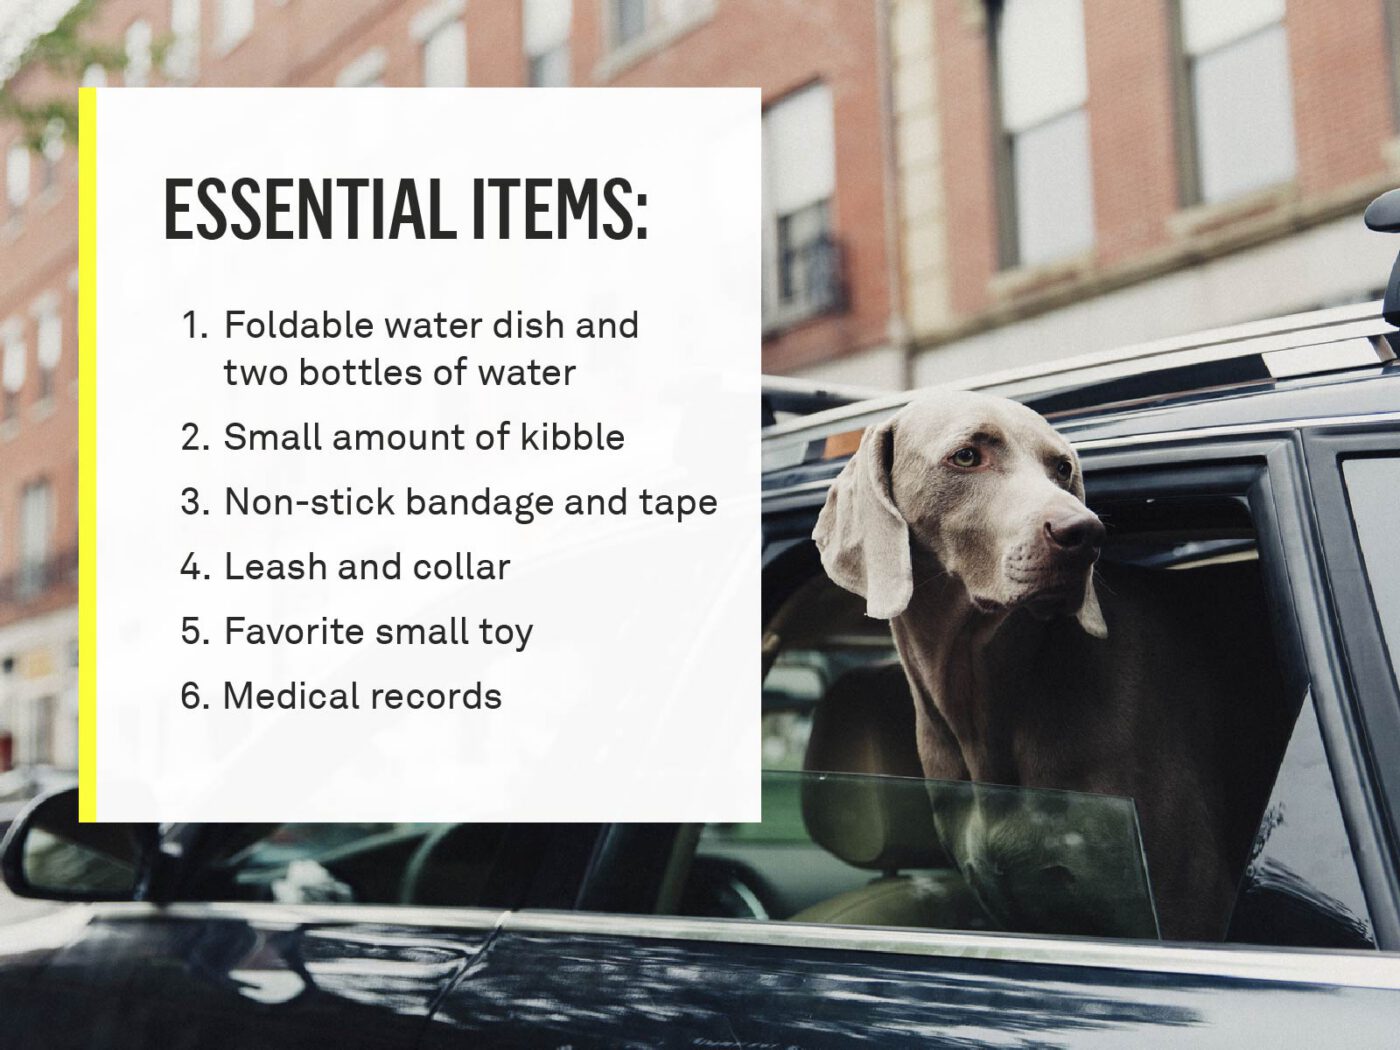
The essentials of a dog “go” bag include:
- Foldable water dish + two bottles of water
- Small amount of kibble
- Non-stick bandage + tape
- Leash and collar
- Favorite small toy
- Medical records
Customize this list to fit your dog. Expect the worst and hope for the best when deciding what else should be included.
Fill Out a Pet Emergency Sticker
You’ll also need to fill out a pet emergency sticker. These cards are placed on the outside of your home to let rescuers know what animals are present. Typically these stickers come with a card that can be placed in your wallet and given to a rescue squad if the sticker is no longer on your house.
Research Pet-Friendly Shelters
Before disasters strike you’ll want to research pet-friendly shelters. Information regarding these facilities can usually be found on community center websites and local government sites as well.
Choose a Designated Caregiver
In case you’re away from home during a disaster, you’ll want to have someone you can rely on. This can be a neighbor, relative or friend in close proximity to your home. Make sure your pet is comfortable around this person.
Your designated caregiver should practice emergency evacuations with your dog before something serious happens.
Choose a Safety Room
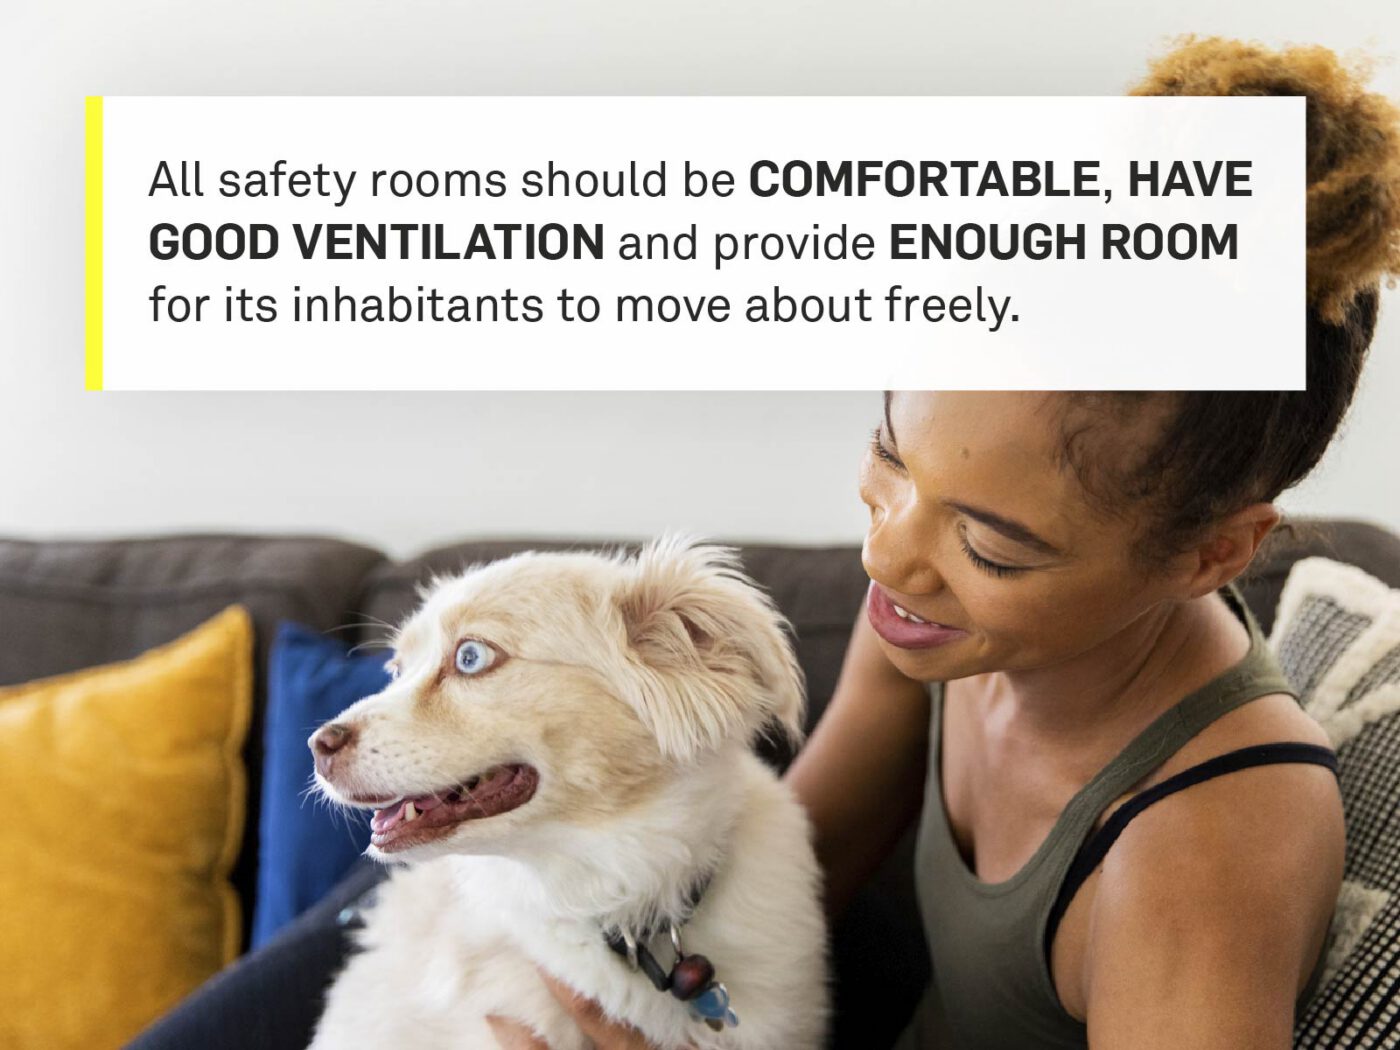
A safety room’s features depend on the type of disaster you’re most likely to experience. All safety rooms should be comfortable, have good ventilation and provide enough room for inhabitants to move about freely.
- Tornados — For tornadoes you’ll want a safety room in the basement of your house or apartment complex. This room should be tucked in a corner of the house away from the outside wall. Many times laundry rooms are a good option. The room should have no windows.
- Hurricane — Hurricane-safe rooms should also have no windows. An ideal safe room in this situation is fortified with plywood and steel. You might have to make some modifications to your space. Unlike with tornadoes, hurricane-safe rooms should not be in the the lowest level of a home in case of flooding.
- Earthquake — Having a specific room for an earthquake is unlikely. Instead, make sure all your rooms have fortified tables or desks that you can crawl under in the event of an earthquake. Standing under door frames can work as well.
Make an Evacuation Plan
In some scenarios, you’ll just need to leave. This is when you’ll want to have an evacuation plan. From wildfires to earthquakes, disasters can strike out of nowhere. Having a rehearsed routine can save your life.
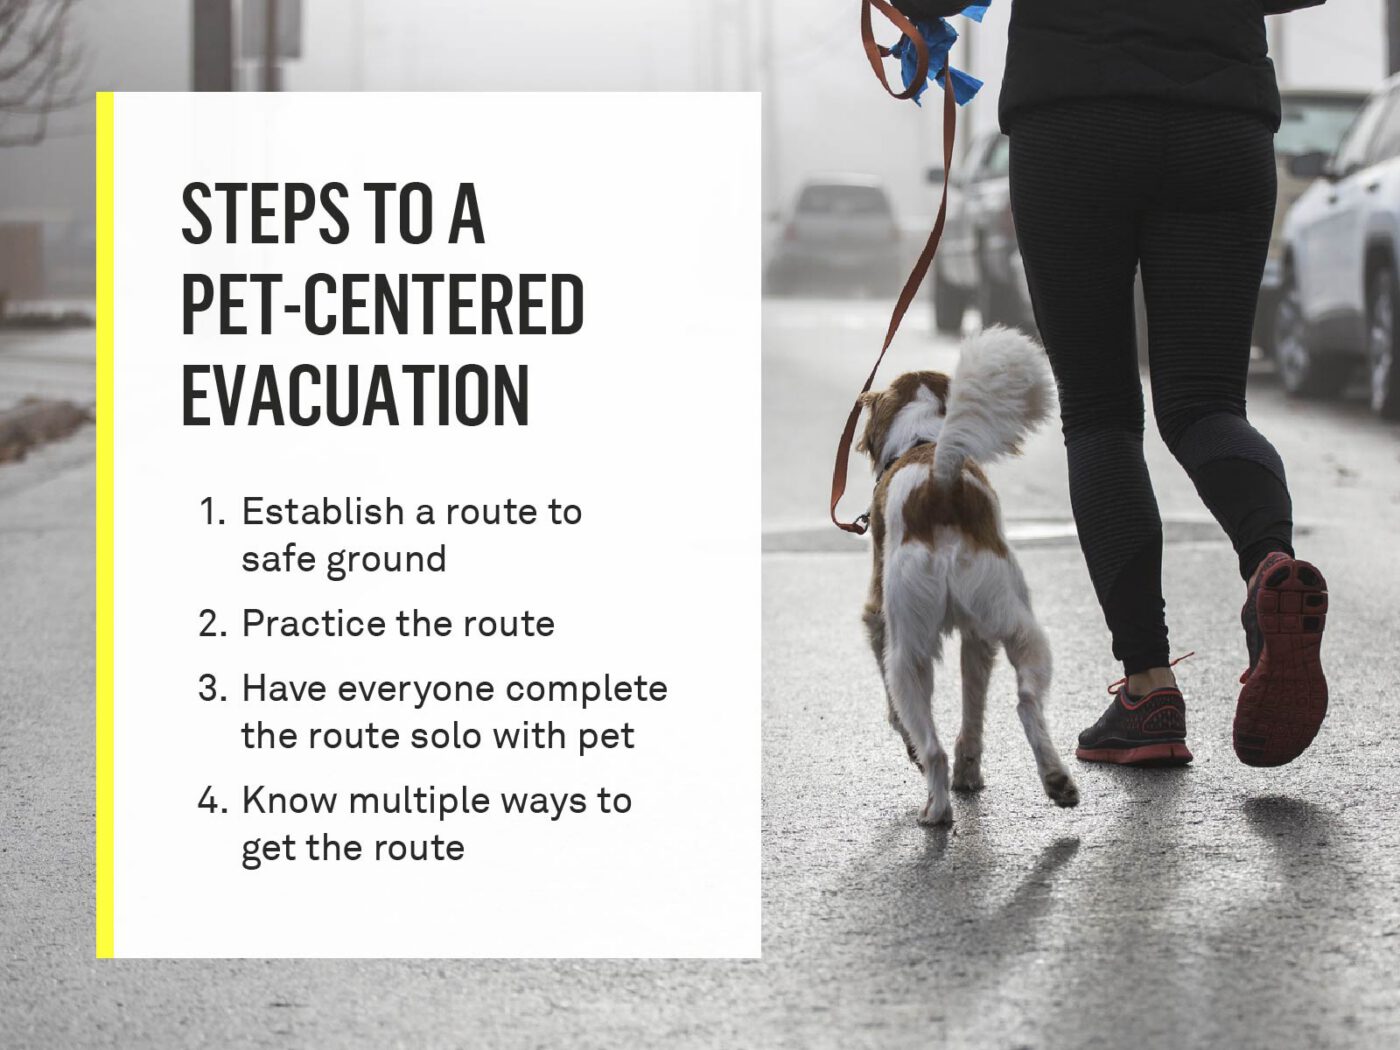
To create a plan follow the steps below:
- Establish a route to safe ground — This can mean higher ground, an area away from buildings or access to a car.
- Practice the route — You’ll want to make sure everyone in your home knows where to go in the event of an emergency. Have a physical map with the route laid out so that everyone can practice it. This is also helpful in seeing any obstacles that may get in the way of your route.
- Have everyone complete the route on their own — Everyone should be confident enough in the route to complete it on their own with a pet. Even if everyone is together, confidence will ensure an efficient escape.
- Know multiple ways to get on the route — Natural disasters can throw multiple obstacles in the way of your original plan. This is another reason why having a physical map can be helpful. Have at least three ways to get to your safe space during a disaster.
Once you have this route down, practice with a dog. In a situation like this, there is a chance your dog will be disobedient. If this happens, remain calm and always have treats on hand to help guide your pet.
How to Keep Your Pet Safe During a Disaster
It’s important to keep your pets calm during disasters. Make sure you have a soft muzzle handy. This will keep your pup from hurting others, themselves and you.
Keeping Your Pet Calm During a Disaster

The key to keeping your pet calm during a disaster is to stay calm yourself. Human emotions can transfer to your pet and cause them stress. Take a deep breath and calm yourself down first.
Once you’ve wrangled yourself in, get your pet’s favorite toy. This can help direct their attention to something physical. Then, use a blanket and hug them close. The pressure and weight of this combo will bring their emotions down and put them into a calm state.
Keeping your pet calm during a disaster can be extremely difficult. Small thunderstorms can startle animals, so be ready to take extra care in the event of a natural disaster.
Keeping Your Pet Safe at Home
The best way to keep your pet safe in a safe room is to puppy proof it. Shut off exit ways with baby gates so your dog can’t escape. All electrical wiring and sharp materials should be properly protected with guards. Never leave glass or other shatterables on the edge of a counter in a safe room.
Especially when your pup is young, attach outlet guards to electrical sockets in this room as well. These guards will make sure a curious pup can’t lick the inside and get shocked.
Keeping Your Pet Safe During an Evacuation
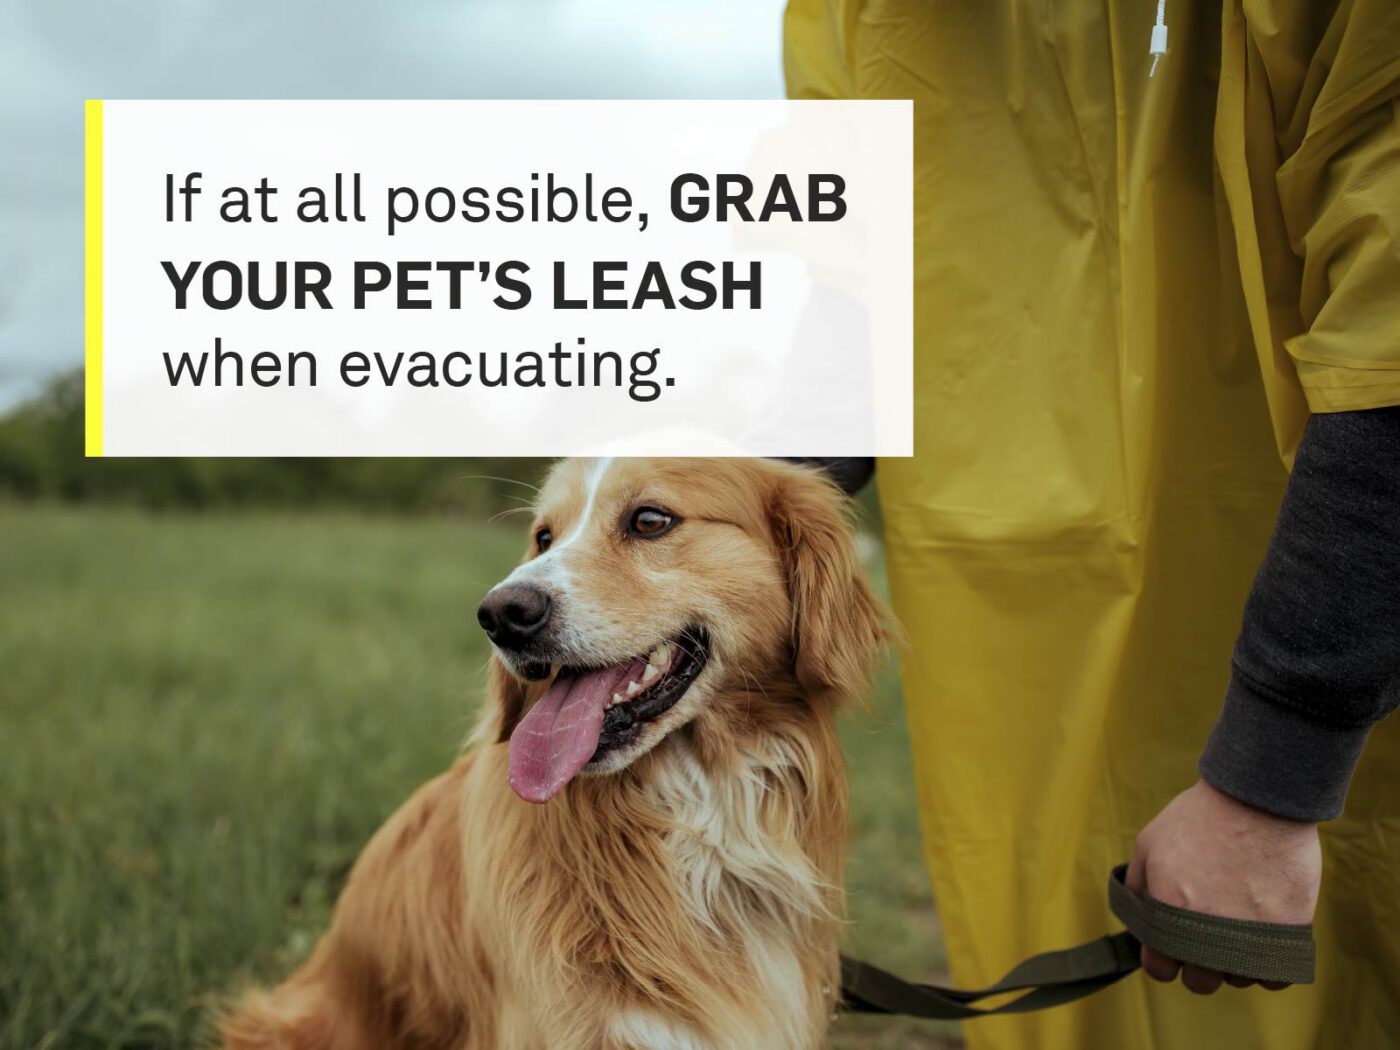
In the event of an evacuation, gather your pet and leave. Do not take anything unnecessary as your life is the most important thing to keep safe. If possible, grab your pet’s leash so they don’t panic and run away. Follow official procedures and stick together with a group of people.
Where to Go in the Event of an Evacuation
In the event of an evacuation, you’ll want to find shelter as soon as possible. To prevent a frantic search, determine an evacuation location before a disaster hits. This refuge should be at most a 10 minute drive away and have accommodations for a large number of people.
Make sure everyone in your household knows its location and your plan to get there.
In order to find a pet-friendly shelter you’ll need to check with your local government. Community centers and city halls will have information on where the closest pet-friendly evacuation shelter is.
Car Safety for Pets During an Evacuation
If possible, keep your dog in a crate while transporting them in the car during a disaster. While it may not be the most comfortable for your pup, driving patterns are unpredictable during disasters and a pup will be safest in their crate.
Nowadays, they have crates specifically made for car transport. It’s ideal if you’re able to purchase one of these for disaster transport, but not necessary. You’ll also want to make sure your pet is confined to keep them from distracting you and hurting themselves.
Keep the following parameters in mind when driving with your pet during a disaster:
- Keep them confined
- Never put them in the front seat
- Bring a toy to distract them
- Practice driving with your dog before disaster strikes
After Disaster Considerations
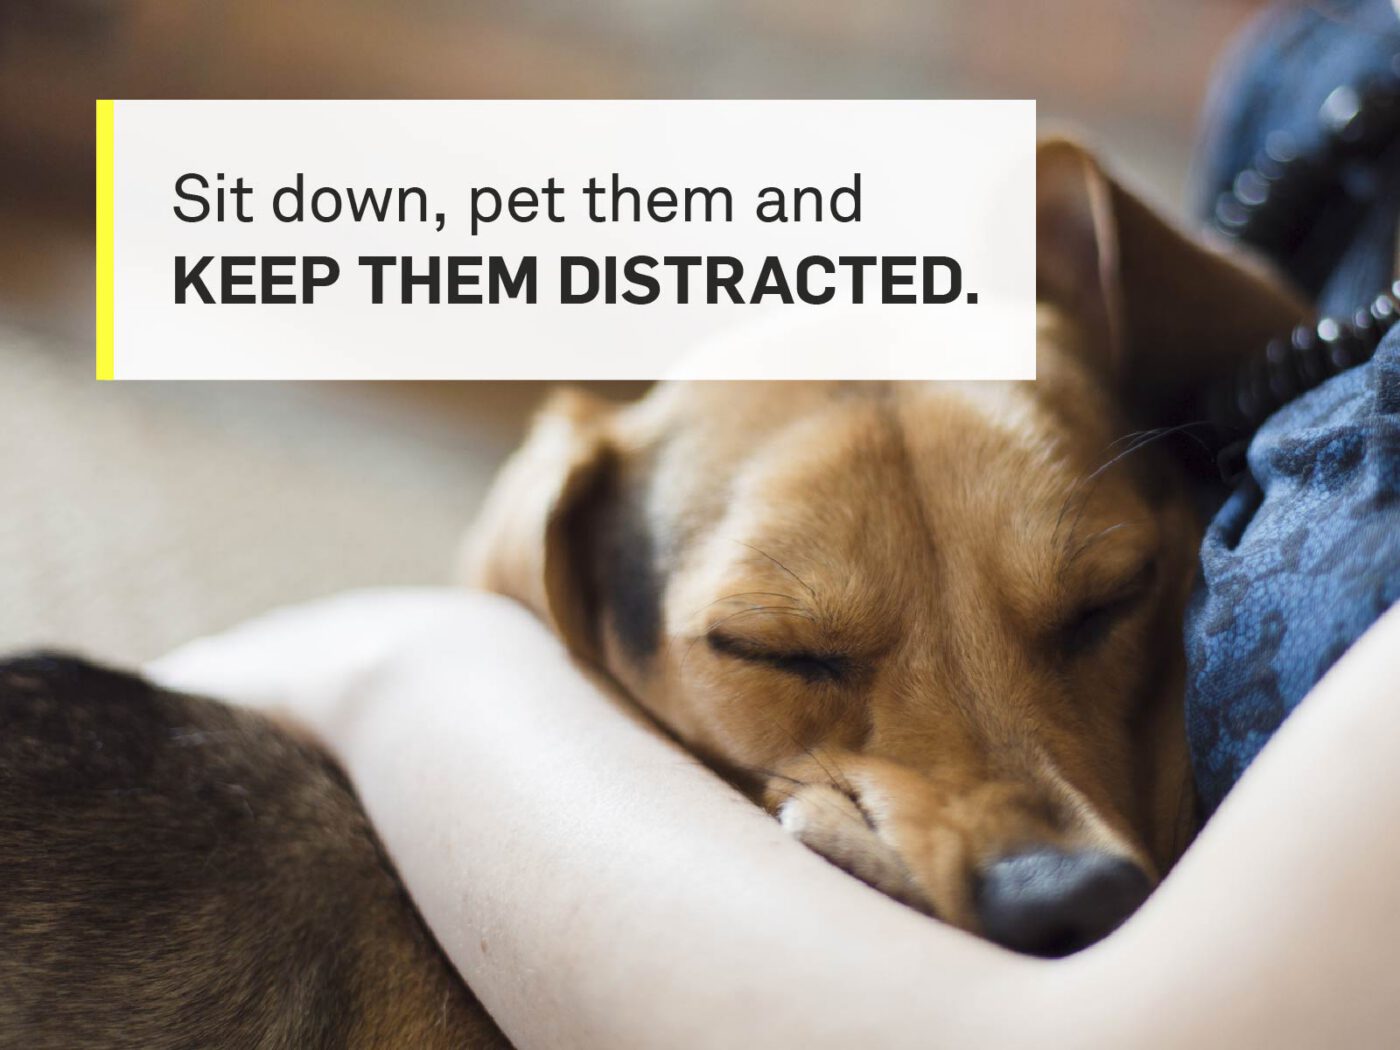
Once the storm has cleared and things have settled, your dog may be rattled. It’s essential to calm them down and help them return to normal life.
To begin, act normal and don’t talk to your dog in a “baby” voice. You want them to realize everything is back to normal. Feed them and give them plenty of water. Inspect them for any scrapes or other injuries.
Once the basics are taken care of, nourish them with affection. Sit down, pet them and keep them distracted. Giving them a toy or puppy puzzle will get their mind off the trauma they just experienced.
Above all, though, take care of yourself and others. You need to be safe and healthy in order to take care of your dog.
What to Do if Your Pet Gets Lost
Before you bring your dog home for the first time, make sure your pet is microchipped. This will make the process of finding your four-legged friend leagues easier. In fact, thanks to microchipping, 75% of lost dogs return home to their owners.
If you can’t find your dog:
- Call your local animal shelter — Note: Many shelters in major cities will update social media if a lost dog is found as well
- Check with local vets
- Contact your dog’s microchipping company
- Put up posters
- Have your dog’s medical and identification information on hand.
Additional Resources for Help
To learn more about how to prepare for disasters we’ve compiled a list of additional sites to visit.
- Department of Homeland Security — The DHS has information on weather and planning for disasters with pets of all kinds — not just dogs
- FEMA Pet Checklist — A PDF of steps to take in a disaster
- CDC Pet Safety — The CDC’s steps to take in emergencies to keep pets safe
- Pet Disaster Preparation en Espanol — A guide to disaster prep with pets in Spanish
- Red Cross Pet Recovery — A guide on what to do to help your pet after a disaster
- Pet Shelter Locator — A locator to find the nearest pet shelters in your area should you lose your dog
- Vet Locator — A locator to find the nearest pet hospital near you
- Video: Disaster Prep for Pet Owners — FEMA’s video on prepping for natural disasters with pets
- USDA Guide to Protective Service Animals — Resources specifically for helping service animals in a disaster
- Animal Humane Society — General information on best practices for dog owners
The best thing you can do for yourself and your dog is to simply be prepared. Having a practiced routine down can save your life as well as your dog’s. Get familiar with the route and know steps to take should obstacles arise.
Prepping for a disaster begins with a healthy, in-shape dog. Sometimes, though, our dog friends do get sick. It’s important to prepare for these times as well.
At Gallant, we’re here to put worry to bed when it comes to canine health. Learn about how we’re using regenerative medicine to help combat your dog’s health issues down the road — disaster-induced or otherwise.